The satisfying scrape of the spoon against the bottom of a peanut butter jar often leaves us with a lingering question: how do you truly clean this sticky residue for recycling? It’s a common dilemma for anyone striving to live a more sustainable life. Properly preparing your recyclables, especially those notoriously clingy containers, is crucial for effective waste management and minimizing environmental impact. This guide will demystify the process, offering practical, efficient methods to ensure your peanut butter jars are ready for their next life, rather than ending up in a landfill.
Why Proper Cleaning Matters for Recycling
Recycling programs worldwide depend on clean materials to operate efficiently. When food residue, like that stubborn peanut butter, contaminates recyclables, it can create significant problems. Food particles can stick to other materials, like paper and cardboard, making them unrecyclable and diverting entire batches to landfills. For plastics, oily residues can degrade the quality of the recycled material, often leading to “downcycling” into lower-value products rather than new food-grade containers. Beyond material integrity, sticky and stinky residue can also attract pests to sorting facilities, creating unsanitary and unsafe working conditions for the people handling our waste. While some local guidelines may vary, the general rule of thumb is to avoid anything “sticky or stinky” in your recycling bin.
The Basics: Essential Tools and First Steps
Preparing your peanut butter jar for recycling doesn’t require a specialized kit, but a few common household items will make the job much easier. The goal is to remove as much of the thick, oily peanut butter as possible before introducing water.
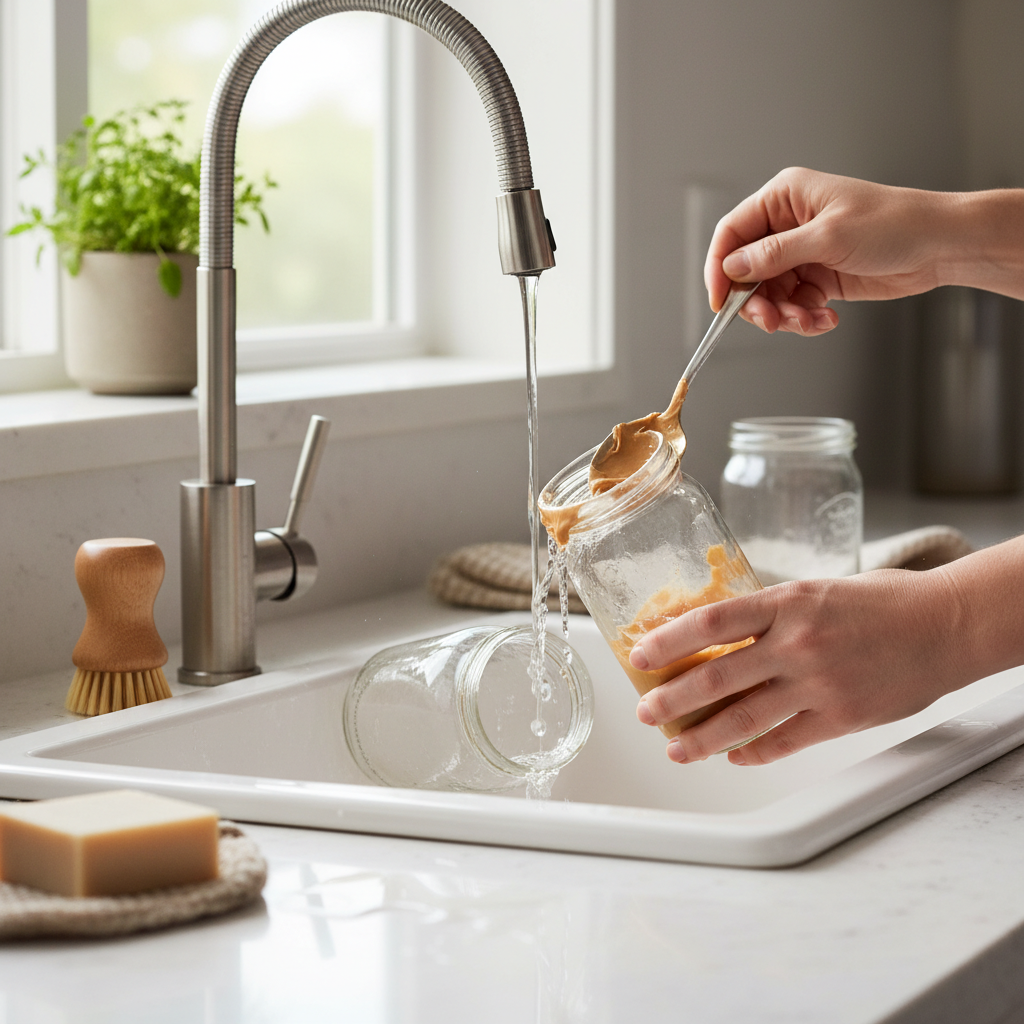
Scrape First
|
Our Picks for the Best Bottle brush in 2026
As an Amazon Associate I earn from qualifying purchases.
|
||
| Num | Product | Action |
|---|---|---|
| 1 | ROSEOK 2 in 1 Long Handle Bottle Brush with Straw Brush for Cleaning Glass, Sports Bottle, Coffee Mug,Navy Blue,1 Pack |

|
| 2 | Munchkin Sponge Bottle Brush, Grey/Sage, 2 Count (Pack of 1) |
|
| 3 | Momcozy Bottle Brush Kit with Push-Press Foam Design - Newborn Essentials Gift, Portable Cleaning Tool for Home & Travel, Baby Bottle Cleaner Brush for Breast Pumps & Nipples, Green |
|
| 4 | Holikme 6 Pack Bottle Brush Set, 14" Long Handle Stainless Steel Bottle Cleaner Brush, 3 Straw Brushes, 3-in-1 Bottle Cleaning Brush for Water Bottle, Antistatic Lab Brushes, Straws Black |
|
| 5 | Holikme Bottle Brush Tube Cleaning Lab Set with Long Handle, Cup Cleaner for Washing Narrow Neck Beer Wine Decanter Pipes Lids Sinks Cap Covers, White |
|
| 6 | Amazon Brand - Mama Bear Baby Bottle Brush with Nipple Cleaner and Suction Cup Stand, White (Pack of 3) |
|
| 7 | OXO Tot Bottle Brush with Stand, Baby Bottle Brush |
|
| 8 | MR.SIGA Long Handle Bottle Brush, Flexible Scrub Brush for Water Bottles, Glasswares, Mugs, Black, 2 Pack |
|
| 9 | Scotch-Brite Glass and Water Bottle Brush, Long-Lasting, Safe on Glassware, Shaker Bottles, Food Processors, & More, Non-slip handle, Durable, Reusable, Clean in Top Rack of Your Dishwasher |
|
| 10 | ALINK 16 inch Long Bottle Brush Cleaner for Washing Wine/Beer/Sport Well/Thermos/Glass, Hummingbird Feeder and Long Narrow Neck Sport Bottles |
|
Before any rinsing or soaking, use a spatula, spoon, or knife to scrape out as much residual peanut butter as you can. Don’t underestimate how much can still be clinging to the sides and bottom. You might be surprised to find enough for an extra snack or to incorporate into a recipe. This initial scraping not only minimizes waste but also reduces the amount of cleaning required, saving water and effort.
Gather Your Tools
Once the bulk of the peanut butter is removed, assemble your cleaning arsenal. You’ll primarily need:
- Hot Water: Essential for melting and loosening the sticky oils.
- Dish Soap: Helps emulsify fats and clean surfaces.
- Bottle Brush or Sponge: For scrubbing the interior.
- Paper Towels or an Old Cloth: For wiping away stubborn bits.
- (Optional) Silicone Scraper: Specifically designed to reach tight corners and efficiently remove residue.
Effective Methods for Cleaning Peanut Butter Jars
Several methods can tackle the challenge of a sticky peanut butter jar. The best approach often depends on the type of jar (glass or plastic) and your available resources.
Hot Water & Dish Soap Soak/Shake
This is perhaps the most common and effective method for both glass and plastic jars. The combination of heat, soap, and agitation works wonders.
- Fill Partially with Hot Water: After scraping, fill the jar about one-quarter to one-half full with the hottest tap water you can safely handle.
- Add Dish Soap: Squeeze in a few drops of dish soap.
- Seal and Shake: Securely screw the lid back on the jar. Shake it vigorously for 30-60 seconds. The hot, soapy water will slosh around, breaking down and dislodging the peanut butter.
- Soak (If Needed): For particularly stubborn residue, let the jar sit with the hot, soapy water for 10-15 minutes. This allows the peanut butter to further soften and loosen.
- Empty and Rinse: Pour out the dirty water (being mindful of potential drain clogs if you have excessive oil) and rinse the jar thoroughly under hot running water, using a bottle brush or sponge if necessary, until it’s largely clear of residue.
The Microwave Method (for Plastic Jars)
For plastic peanut butter jars, the microwave can be a surprisingly effective hack to quickly melt the stubborn peanut butter.
- Fill with Water: After initial scraping, fill the plastic jar halfway with water.
- Microwave: Place the jar in the microwave and heat for 1 to 2 minutes, or until the water is sufficiently hot to melt the peanut butter. Be cautious when handling the hot jar.
- Add Soap and Swirl: Carefully remove the jar, add a few drops of dish soap, and swirl the contents. You can also use a Bottle Brush.
- Empty and Rinse: Empty the jar and rinse thoroughly with hot water.
Dishwasher Power
If you have a dishwasher, you might consider letting it do the heavy lifting.
- Pre-Scrape: Always scrape out as much peanut butter as possible first.
- Load with Dishes: Place the jar in the dishwasher with your regular load of dishes. This ensures you’re not using extra water solely for the jar.
- Run Cycle: The high heat and powerful jets of a dishwasher are often sufficient to clean even the stickiest residues. Items will emerge clean and sanitized.
“Pre-wash” with Food or Pets
For those who enjoy a zero-waste approach, or have eager furry helpers, there are creative ways to clean jars.
- Oatmeal or Hot Milk: Spoon hot oatmeal or pour warm milk directly into an almost-empty jar. The heat and friction (or just eating it) can help clean the sides. Enjoy a peanut-butter-flavored treat while cleaning!
- The “Dog Method”: Many pet owners allow their dogs to lick peanut butter jars clean. While often effective, this method comes with critical warnings:
- Check for Xylitol: Many sugar-free peanut butter brands contain xylitol, which is highly toxic and potentially lethal to dogs. Always check the ingredients list before offering the jar to your pet.
- Sharp Edges: Be mindful of any sharp edges on plastic jars or broken glass if using glass jars. Supervise your pet closely.
“How Clean is Clean Enough?” Demystifying Recycling Standards
This is the million-dollar question for many home recyclers. The good news is that jars generally don’t need to be “spotless” or “squeaky clean.” You don’t need to scrub until they are perfectly see-through.
The common standard is that items should be “largely free of visible streaks” of peanut butter and, most importantly, “not sticky or stinky.” A thin film or slight residue is usually acceptable, as recycling facilities have industrial washing processes. However, heavy coatings of food or significant visible remnants can contaminate other materials and attract pests. If you can’t see the clear plastic or glass through the container due to peanut butter, it’s likely too dirty and should, unfortunately, be disposed of with general waste.
Remember to dry your jars completely before placing them in the recycling bin. Moisture can sometimes lead to mold or mildew, especially in mixed recycling streams.
“Many people strive for perfection when cleaning recyclables, but often, ‘good enough’ is truly good enough. Focus on removing the bulk of the food residue to prevent contamination and keep your bin fresh. Don’t let the pursuit of spotless cleaning deter you from recycling at all.” – Admin, reviewmht.com, Experienced Home Care Technician
Beyond Cleaning: Removing Labels and Repurposing Jars
While removing labels isn’t strictly necessary for recycling most jars (as materials are often melted down), it’s essential if you plan to repurpose your jars.
Label Removal Techniques
- Hot Soapy Water Soak: Submerging jars in hot, soapy water often loosens paper labels and adhesive. Let them soak for an hour or even overnight.
- Baking Soda & Oil Paste: For stubborn sticky residue, mix equal parts baking soda and cooking oil to form a paste. Rub it over the sticky area, let it sit for 30 minutes, then scrub off and wash with soap and water.
- White Vinegar Soak/Boil: Soaking jars in white vinegar, or even boiling them in a pot with water and vinegar, can help dissolve label adhesives.
- Hair Dryer: Directing hot air from a hairdryer onto the label for 30-second intervals can soften the adhesive, making it easier to peel off.
Creative Repurposing Ideas
Cleaned and de-labeled jars are incredibly versatile. Consider repurposing them for:
- Storage: Organize pantry items like spices, grains, or snacks. They’re also great for craft supplies, hardware, or office essentials.
- Vases or Planters: A simple, rustic touch for flowers or small plants.
- DIY Projects: Candle holders, gift containers, or decorative elements.
Conclusion
Cleaning peanut butter jars for recycling might seem like a small task, but it’s a significant step towards more effective recycling and a greener planet. By understanding the “why” behind proper cleaning and utilizing simple, efficient methods, you can confidently prepare your jars for their journey to rebirth. Remember, the goal isn’t perfection, but rather to prevent contamination and contribute to a healthier recycling stream.
What are your favorite creative uses for thoroughly cleaned peanut butter jars?