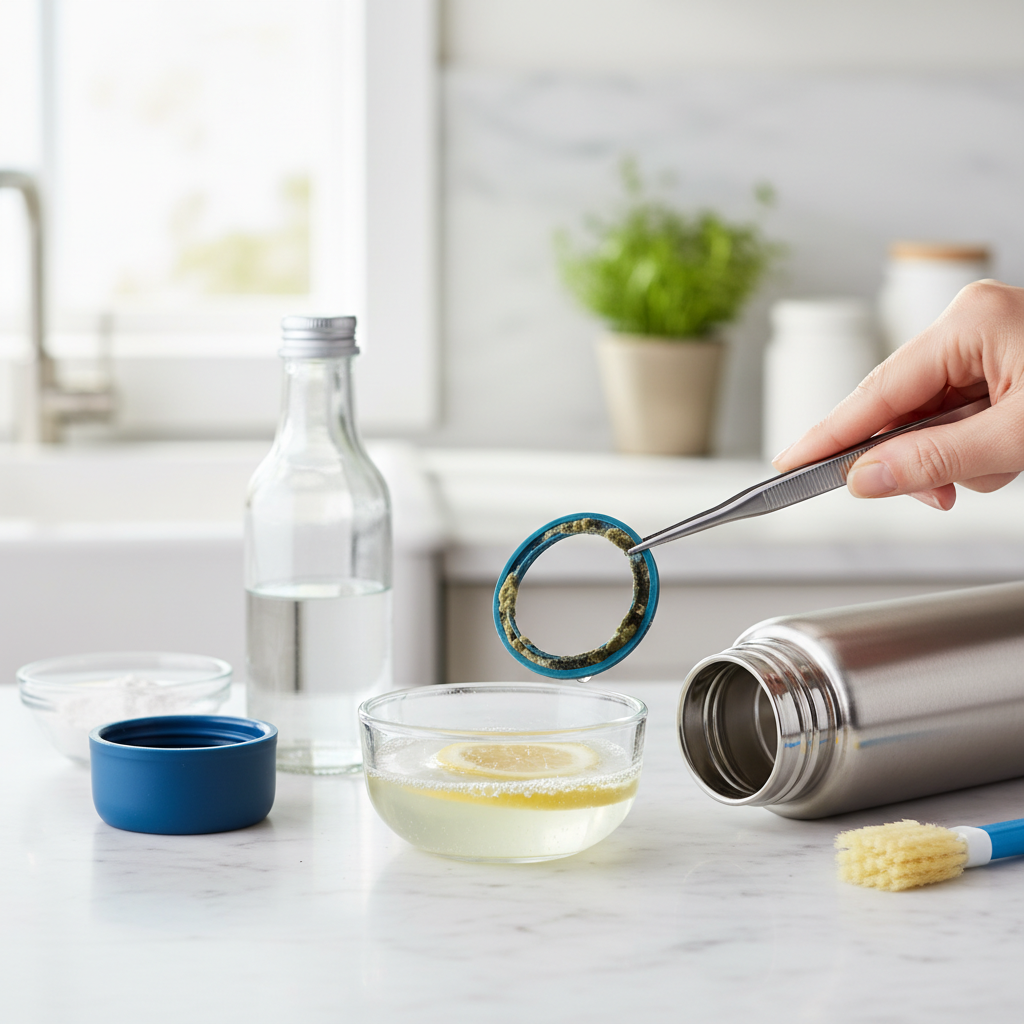
Cleaning bottles and containers with narrow necks or intricate shapes can be a persistent headache. Those elusive nooks and crannies often harbor grime, mold, and unpleasant odors, remaining stubbornly out of reach for standard cleaning tools. While commercial bottle brushes offer some solutions, finding one perfectly suited for every tiny space can be a challenge. This article provides a comprehensive guide to crafting your own effective DIY bottle brushes, leveraging everyday materials for quick, cost-effective, and customized cleaning solutions.
What is a Bottle Brush and Why Do You Need It?
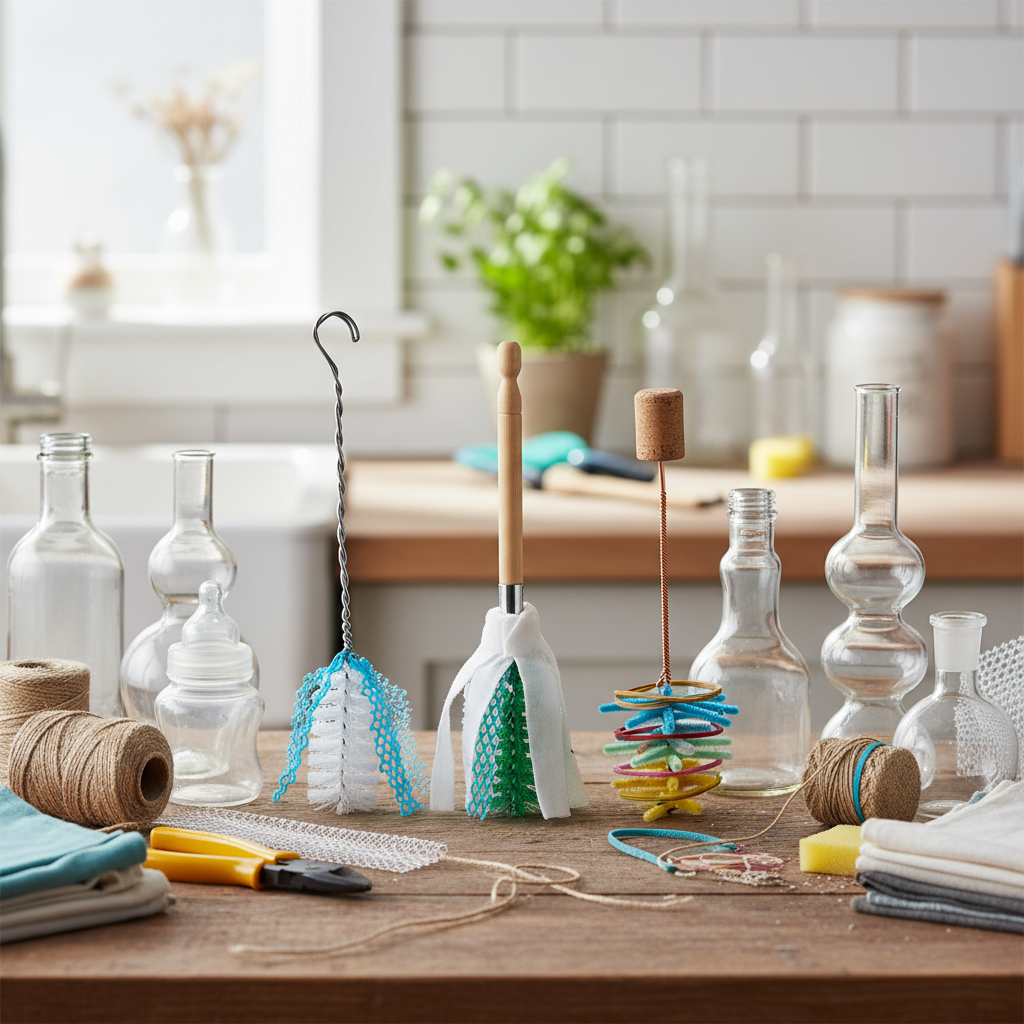
A bottle brush is a specialized cleaning tool designed to reach and scrub the interior surfaces of bottles, jars, and other vessels with constricted openings. Its elongated handle and bristled head make it indispensable for tackling areas where sponges or cloths simply cannot go. You need a bottle brush because without it, residues, bacteria, and unsightly buildup accumulate, compromising hygiene and potentially affecting the taste or purity of contents. For everyday items like reusable water bottles, baby bottles, or even decorative vases, thorough internal cleaning is essential. However, when it comes to truly tiny spaces or unusually shaped containers, even standard bottle brushes often fall short. This is where the ingenuity of DIY solutions shines, allowing you to create a tool perfectly tailored to your specific cleaning challenge.
Common Types of Bottle Brushes on the Market
Commercial bottle brushes come in a variety of designs, each with specific advantages. Understanding these can inspire your DIY creations. Common types include brushes with nylon bristles, known for their durability and scrubbing power, often paired with a smaller nipple brush for intricate parts. Silicone brushes offer flexibility, are gentle on surfaces, and are often more hygienic due to their non-porous nature. Sponge-tipped brushes are great for gentle cleaning and absorbing soap. Wire-backed brushes, particularly those with flexible wire stems, are designed to navigate curves and narrow openings effectively. While these commercial options are abundant, they might not always offer the precise size, length, or flexibility required for extremely tiny or uniquely shaped containers, prompting many to seek homemade alternatives.
Important Criteria When Crafting DIY Bottle Brushes for Tiny Spaces
When embarking on a DIY bottle brush project, careful consideration of materials and design is paramount to ensure both effectiveness and safety, especially for those hard-to-reach tiny spaces.
Material: The Foundation of Your DIY Brush
The choice of material for your DIY bottle brush directly impacts its cleaning efficacy, durability, and safety. For items that will contact food or beverages, ensure materials are non-toxic and food-safe.
- Safety for Health (BPA-free, non-toxic): Always prioritize materials that won’t leach harmful chemicals into your bottles. Avoid questionable plastics or metals that can rust or degrade with cleaning agents.
- Durability and Heat Resistance: Opt for materials that can withstand repeated use and hot water, if applicable. A kitchen sponge, for instance, can be effective but may wear out quickly.
- Ease of Cleaning and Sterilization: A good DIY brush should be as easy to clean as it is to make. Materials like sponge or certain fabrics can be rinsed thoroughly and air-dried to prevent mildew.
|
Our Picks for the Best Bottle brush in 2026
As an Amazon Associate I earn from qualifying purchases.
|
||
| Num | Product | Action |
|---|---|---|
| 1 | MR.SIGA Long Handle Bottle Brush, Flexible Scrub Brush for Water Bottles, Glasswares, Mugs, Black, 2 Pack |

|
| 2 | Momcozy Bottle Brush Kit with Push-Press Foam Design - Newborn Essentials Gift, Portable Cleaning Tool for Home & Travel, Baby Bottle Cleaner Brush for Breast Pumps & Nipples, Green |
|
| 3 | ROSEOK 2 in 1 Long Handle Bottle Brush with Straw Brush for Cleaning Glass, Sports Bottle, Coffee Mug,Navy Blue,1 Pack |
|
| 4 | Amazon Brand - Mama Bear Baby Bottle Brush with Nipple Cleaner and Suction Cup Stand, White (Pack of 3) |
|
| 5 | Holikme Bottle Brush Tube Cleaning Lab Set with Long Handle, Cup Cleaner for Washing Narrow Neck Beer Wine Decanter Pipes Lids Sinks Cap Covers, White |
|
| 6 | Munchkin Sponge Bottle Brush, Grey/Sage, 2 Count (Pack of 1) |
|
| 7 | Holikme 6 Pack Bottle Brush Set, 14" Long Handle Stainless Steel Bottle Cleaner Brush, 3 Straw Brushes, 3-in-1 Bottle Cleaning Brush for Water Bottle, Antistatic Lab Brushes, Straws Black |
|
| 8 | ALINK 16 inch Long Bottle Brush Cleaner for Washing Wine/Beer/Sport Well/Thermos/Glass, Hummingbird Feeder and Long Narrow Neck Sport Bottles |
|
| 9 | OXO Tot Bottle Brush with Stand, Baby Bottle Brush |
|
| 10 | Scotch-Brite Glass and Water Bottle Brush, Long-Lasting, Safe on Glassware, Shaker Bottles, Food Processors, & More, Non-slip handle, Durable, Reusable, Clean in Top Rack of Your Dishwasher |
|
Design: Reaching Every Corner
The design of your homemade bottle brush is critical for its ability to penetrate tiny openings and effectively scrub all interior surfaces.
- Sturdy, Comfortable Handle: For DIY, a wire hanger can be straightened and shaped to form a long, sturdy handle that can be easily gripped and manipulated. For temporary solutions, a fork or spoon can serve as a makeshift handle.
- Flexible Brush Head: The key to tiny spaces is flexibility. A small piece of sponge, cut to size, can be securely twisted onto the end of a wire, allowing it to compress through narrow necks and expand inside the bottle for scrubbing. Similarly, soft fabric strips or even cotton twisted onto a thin wire or toothpick can create a flexible, absorbent head for delicate tasks.
- Ability to Replace Brush Head (if applicable): Some DIY designs, like the sponge-on-wire method, inherently allow for easy replacement of the cleaning head, making the tool more sustainable.
Size: Custom-Fit for Your Needs
The primary advantage of a DIY bottle brush is the ability to customize its size precisely for the specific “tiny space” you need to clean.
- Fits Bottle Neck: Measure the narrowest opening of your container. Your DIY brush head must be able to compress and pass through this opening. For example, a kitchen sponge can be cut to a small enough piece to fit through narrow tops and trimmed further if needed.
- Reaches Bottom and Corners: Ensure the overall length of your DIY tool, including the handle and brush head, is sufficient to reach the very bottom and all internal contours. Wire hangers are excellent for providing adjustable length.
- Easy to Store and Transport: While custom-made, consider how you will store your DIY brush to prevent damage and keep it clean between uses.
Cost-Effectiveness and Accessibility of Materials
When considering DIY, the practical aspects of cost and material availability are often a driving force.
- Utilizing Readily Available Household Items: The beauty of DIY for tiny spaces is using items you likely already have. Wire hangers, old kitchen sponges, paper towels, forks, and even uncooked rice are common household staples that can be repurposed.
- Comparing Costs of DIY vs. Commercial: Crafting a brush from salvaged items is almost always more cost-effective than purchasing a specialized commercial product, especially if you only need it for a single, unique item.
- Balancing Quality and Value: While DIY is budget-friendly, consider the quality of the materials. A sturdy wire and a durable sponge will provide more effective and reusable cleaning than flimsy alternatives.
Comparing DIY Bottle Brush Solutions for Tiny Spaces
For those frustratingly small openings, several DIY methods offer effective alternatives to commercial brushes. Here’s a comparison of some popular approaches:
| Feature | Sponge & Wire Hanger | Paper Towel & Fork/Spoon | Abrasives (Rice, Salt, Crushed Ice) & Soap | Metal Fan Pull Chain & Soap |
|---|---|---|---|---|
| Materials | Kitchen sponge, wire hanger, scissors, pliers, screwdriver | Paper towel, fork or spoon | Uncooked rice/salt/crushed ice, dish soap, water | Long metal fan pull chain, dish soap, water |
| Design | Sponge twisted onto a wire loop, hook for handle | Paper towel wrapped around fork/spoon tines | No physical brush; relies on abrasive particles and shaking | Chain inserted, swirled inside bottle |
| Ease of Making | Moderate (requires bending wire, twisting sponge) | Very Easy (quick wrap) | Easy (add ingredients, shake) | Easy (insert chain, swirl) |
| Effectiveness | Good for scrubbing sides and bottom; customizable head size | Temporary, light cleaning; can get soggy | Excellent for loosening stubborn grime, film, and odors | Good for scrubbing, especially curved surfaces |
| Reusable | Yes, if dried properly; sponge replaceable | No (disposable) | Ingredients disposed; bottle is reused | Yes, if cleaned and dried |
| Tiny Space Access | Excellent (wire is flexible, sponge compresses) | Limited to neck size of fork/spoon | Excellent (abrasives reach everywhere liquid goes) | Excellent (chain is thin and flexible) |
| Pros | Custom-sized, reaches deep, good scrubbing, reusable | Quick, immediate solution, uses common items | Highly effective for heavy buildup and odors, no special tools needed | Very flexible, reaches all surfaces, durable, reusable |
| Cons | Wire can rust if not dried, requires tools for assembly | Tears easily, not robust for heavy cleaning | Not a “brush,” may not physically scrub stuck-on spots, requires rinsing out abrasives | Chain needs thorough cleaning and drying to avoid rust/residue |
How to Use and Maintain Your DIY Bottle Brush for Tiny Spaces
Maximizing the lifespan and effectiveness of your homemade bottle brush involves proper usage and diligent care.
How to Use Your DIY Brush
When using your custom-made brush for tiny spaces, a systematic approach ensures thorough cleaning:
- Prepare the Bottle: Always rinse the bottle with warm water first to loosen any immediate debris or residue.
- Apply Cleaning Solution: Use a small amount of dish soap or a specialized bottle cleaning solution. For extra grime, a mixture of warm water and a teaspoon of baking soda can pre-soak for 15 minutes to break down residue.
- Insert the Brush: Carefully guide your DIY brush through the narrow opening. If using a sponge-on-wire design, gently compress the sponge head.
- Scrub Thoroughly: Once inside, manipulate the handle to scrub all interior surfaces, paying close attention to the bottom, shoulders, and any corners where buildup commonly occurs. For very stubborn spots, the abrasive methods (rice, salt, etc.) can be employed by shaking the bottle vigorously.
- Rinse Completely: After scrubbing, rinse the bottle repeatedly with clean, warm water until all soap suds and dislodged grime are gone.
How to Care for Your DIY Brush
Proper maintenance extends the life of your homemade cleaning tools and ensures they remain hygienic.
- Clean Immediately After Use: Rinse your DIY brush thoroughly with warm, soapy water to remove any debris or cleaning solution.
- Dry Completely: Air-dry your brush in a well-ventilated area. If using a wire hanger, ensure the wire, especially where it contacts the sponge, dries fully to prevent rust. Hanging it by the hook of the wire hanger is ideal for drying and storage.
- Sanitize Periodically: For items like baby bottles or water bottles, sanitize your DIY brush by soaking it in a diluted bleach solution (1 tsp bleach per gallon of water) for a few minutes, or a vinegar solution, followed by a thorough rinse.
- Replace Components as Needed: For the sponge-on-wire brush, the sponge head can be replaced when it becomes worn, frayed, or discolored. Disposable options like paper towel and fork should be discarded after each use.
When DIY Isn’t Enough: Where to Find Commercial Solutions for Tiny Spaces
While DIY bottle brushes are excellent for specific needs and quick fixes, there are times when a commercial product might be preferred for convenience, specialized design, or long-term durability. If your homemade solutions aren’t cutting it or you simply prefer a ready-made option, here’s what to look for:
- Specialized Baby Bottle Brushes: Many brands offer comprehensive sets that include brushes for bottles, nipples, and straw cleaners, often designed with flexible bristles and ergonomic handles.
- Narrow-Neck Water Bottle Brushes: Look for brushes specifically marketed for sports bottles or hydration bladders. These often feature extra-long, thin handles and pliable heads that can navigate tight curves.
- Straw Cleaners and Detail Brushes: For very tiny spouts, sippy cup parts, or intricate lids, small wire brushes with dense bristles (similar to pipe cleaners but sturdier) are ideal.
- Online Retailers and Specialty Stores: Major online marketplaces, baby supply stores, and kitchenware shops are good places to find a wide array of specialized bottle cleaning tools. When choosing, prioritize reputable brands known for quality and safety.
Expert Advice: Enhancing Your Cleaning Arsenal for Tiny Spaces
Choosing the right cleaning tool for tiny spaces, whether DIY or commercial, hinges on understanding your specific needs. From my experience with household maintenance, the most effective approach often combines homemade ingenuity with strategic commercial purchases. For quick, adaptable solutions, a DIY sponge-and-wire brush is unbeatable for custom sizing and accessibility. For stubborn film or odors in narrow bottles, don’t underestimate the power of simple abrasives like uncooked rice or salt with soapy water – they can reach every surface the liquid touches.
“The secret to cleaning tiny spaces isn’t always about the fanciest tool; it’s about the ingenuity of fitting the right amount of scrubbing power into the smallest possible opening. Sometimes, the best solution is one you make yourself.” – Admin, reviewmht.com, Household Maintenance Technician
Always prioritize safety. Ensure any materials you use for DIY brushes are non-toxic, and replace worn-out components promptly. For routine cleaning of frequently used items, investing in a high-quality, durable commercial brush designed for narrow necks can save time and effort. However, for those odd-shaped vases or forgotten glass carafes, the ability to quickly whip up a custom DIY brush from a coat hanger and sponge offers unparalleled flexibility and cost-effectiveness. The goal is a sparkling clean, no matter how tiny or challenging the space.
Conclusion
Tackling the challenge of cleaning tiny, narrow-necked bottles and containers no longer has to be a daunting task. By embracing the power of DIY, you can quickly and cost-effectively create tailored cleaning solutions using common household items like sponges, wire hangers, and even uncooked rice. These homemade tools offer unparalleled customization, allowing you to reach every elusive corner and eliminate stubborn grime. While commercial options exist, the ability to craft a brush perfectly suited to your specific needs, often in mere minutes, empowers you to maintain a truly hygienic home. What “tiny space” will you conquer with your newfound DIY cleaning skills first?
Frequently Asked Questions
Can I use any type of wire for a DIY bottle brush?
For a DIY bottle brush, a standard wire coat hanger is commonly used due to its flexibility and strength, allowing it to be easily bent and shaped. However, if you’re concerned about rust, consider using stainless steel wire if available, or ensure the brush is thoroughly dried after each use.
Are DIY bottle brushes safe for baby bottles?
When making a DIY brush for baby bottles, prioritize food-safe, non-toxic materials. New, clean sponges and rust-free wire are essential. However, due to the critical need for sterilization with baby items, commercial baby bottle brushes specifically designed for hygiene and safety might be a more reliable choice for daily use.
How often should I replace a homemade bottle brush?
The lifespan of a homemade bottle brush depends on its materials and frequency of use. If made with a sponge and wire, replace the sponge head when it shows signs of wear, discoloration, or develops an odor. For disposable methods like paper towel and fork, discard after each use.
Can I clean bottles without any type of brush?
Yes, for many narrow-necked bottles, you can effectively clean them without a physical brush by using abrasive materials like uncooked rice, salt, or crushed ice with dish soap and water. By shaking the bottle vigorously, these abrasives scrub the interior surfaces, dislodging grime and film.
What are good alternatives if I don’t have a wire hanger for a DIY brush?
If a wire hanger isn’t available, other flexible yet sturdy items can serve as a handle, such as a thick florist wire, a straightened metal ruler, or even a long, thin stick. For the brush head, small pieces of sponge, fabric scraps, or even cotton balls can be secured to the end.